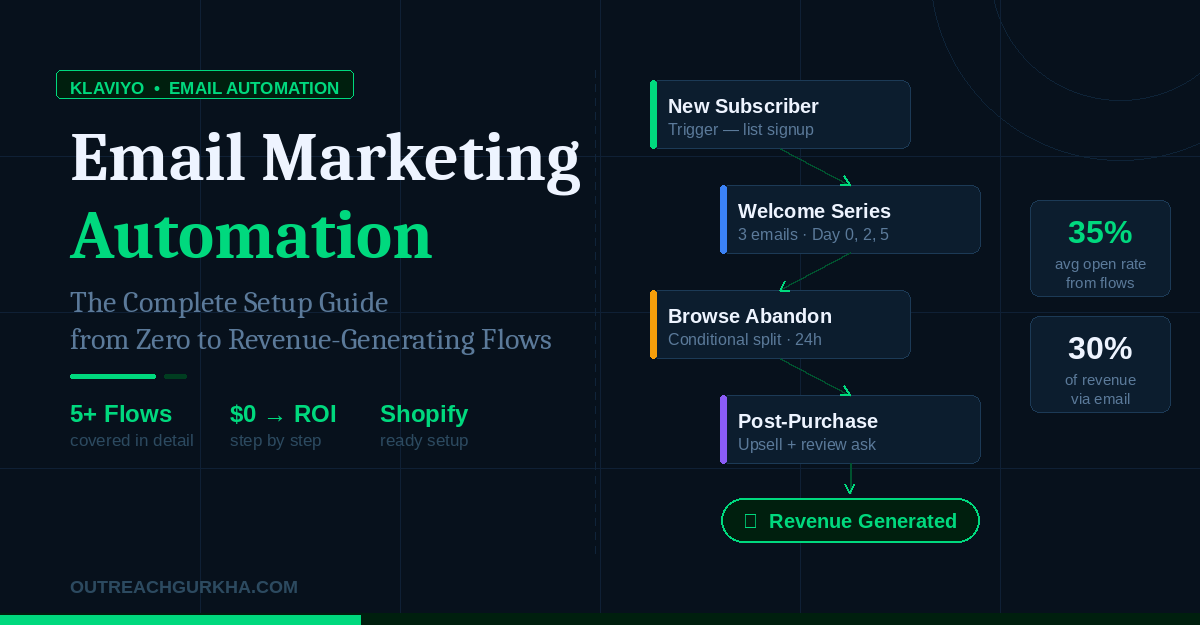
Klaviyo Email Marketing Automation: The Complete Setup Guide from Zero to Revenue-Generating Flows
Everything you need to go from a blank Klaviyo account to a fully working email automation system — account setup, Shopify connection, authentication, list building, segmentation, and all five core flows. Written for founders who want to understand what they are building, not just follow instructions.
Klaviyo is the email and SMS platform used by over 150,000 e-commerce brands worldwide. It is the official recommended email platform for Shopify Plus, and Shopify itself holds an ownership stake in the company. If you are running a Shopify store and you want email marketing that actually generates revenue — not just sends newsletters — Klaviyo is the right tool.
This guide covers the complete setup from start to finish. We assume you have a Shopify store and either a new Klaviyo account or an existing one that hasn’t been fully configured. By the end, you will have a working automation system: authenticated domain, connected store, core segments, and the five flows that generate 80% of all automated email revenue.
1
Create and configure your Klaviyo account
5 min
2
Connect Klaviyo to Shopify
10 min
3
Set up domain authentication (SPF, DKIM, DMARC)
20 min
4
Build your signup form and grow your list
15 min
5
Create your core segments
20 min
6
Build the five core automation flows
60–90 min
7
Send your first campaign and read your reports
20 min
Step 1: Create and Configure Your Klaviyo Account
Go to klaviyo.com and create a free account. Klaviyo’s free tier supports up to 250 contacts and 500 email sends per month — enough to set up your full automation infrastructure before you need to upgrade.
What to configure immediately after signup
Set your business name and physical address
Go to Account → Settings → Organisation. Enter your business name exactly as you want it to appear in the “From” field of every email. Add your physical mailing address — this is not optional. CAN-SPAM law requires a valid physical address in every commercial email you send. If you use a P.O. Box, that is acceptable.
Set your default sender name and email address
Go to Account → Settings → Email. Set the default “From” name (your brand name or founder’s name — “Aaditya from Outreach Gurkha” consistently outperforms generic brand names) and the default reply-to email address. This should be a monitored inbox — customers do reply to marketing emails, and a no-reply address actively damages trust.
Set your timezone
Go to Account → Settings → Organisation → Timezone. Set this to the timezone of your primary customer base — not your own timezone if your customers are in a different region. This affects when Smart Send Time schedules emails and how your analytics timestamps appear.
Step 2: Connect Klaviyo to Shopify
The Klaviyo–Shopify integration is what separates Klaviyo from generic email tools. Once connected, every customer action on your store — purchases, product views, cart additions, refunds — flows into Klaviyo in real time and becomes available as a flow trigger or segment condition.
Full order history
Products viewed (real-time)
Cart additions + abandonments
Checkout started events
Predicted next order date (AI)
Predicted lifetime value (AI)
Churn risk score (AI)
Fulfillment + shipping status
Refund and return events
Product tags + collections
How to connect — two methods
Method A — From Shopify App Store (recommended)
- Go to Shopify Admin → Apps → App Store
- Search “Klaviyo” → click the official app
- Click “Add app” and authorise the connection
- This installs the Klaviyo.js tracking script automatically
- Log in to your Klaviyo account when prompted
- Enable customer data sync and historical data import
Method B — From Klaviyo Dashboard
- In Klaviyo: go to Integrations → All Integrations
- Search “Shopify” → click Add Integration
- Enter your store URL (yourstore.myshopify.com)
- Click Connect → authorise in Shopify admin
- Enable historical data sync on the settings screen
- Verify by checking your Activity Feed for events
Critical setting — Historical data sync: When Klaviyo asks whether to import historical order and customer data, always say yes. This immediately populates your segments with real purchase history and activates Klaviyo’s predictive analytics (predicted LTV, churn risk, next order date) using your actual data — instead of waiting 90 days for the models to learn from scratch.
How to verify the connection is working
After connecting, open your Shopify store in one browser tab and your Klaviyo dashboard in another. Browse a product page on your store while logged out, then check Klaviyo → Activity Feed. Within 30–60 seconds, you should see a “Viewed Product” event appear. If you see it, your tracking is live and working correctly.
Step 3: Domain Authentication — SPF, DKIM, and DMARC
This is the step most people skip, and it is the most expensive mistake in email marketing. Without proper domain authentication, a significant portion of your emails land in spam — silently, with no error message, and with no indication in your Klaviyo dashboard that it is happening.
Since February 2024 (Gmail and Yahoo) and May 2025 (Microsoft Outlook), proper authentication is no longer optional — it is a hard requirement for bulk email delivery. Here is what each record does and exactly how to set it up.
How to set up a dedicated sending domain in Klaviyo (step by step)
Navigate to sending domain settings
In Klaviyo: click your account name (bottom left) → Settings → Email → Sending Infrastructure → Add a Sending Domain.
Enter your sending subdomain
Klaviyo will ask for your root domain (e.g., yourbrand.com) and your sending subdomain. The standard convention is send.yourbrand.com or email.yourbrand.com. Use a subdomain, not your root domain — this protects your root domain’s reputation from any email deliverability issues.
Copy the DNS records Klaviyo provides
Klaviyo generates 3–4 CNAME records and 1 TXT record. Copy these exactly — they contain your specific authentication keys. Go to your domain registrar’s DNS management panel and add each record. The “Host” field is the subdomain portion (e.g., just “send”, not “send.yourbrand.com” — most registrars auto-append your domain).
Verify the records in Klaviyo
Go back to Klaviyo → Settings → Email → Domains and click Verify Domain. DNS propagation typically takes 15 minutes to 48 hours. Once verified, all records will show green checkmarks. If a record fails, double-check you copied the Host and Value fields correctly — a single character error will cause verification to fail.
Apply the domain
After verification, click Apply Domain. Klaviyo will now send all emails from your branded domain (e.g., [email protected]) instead of Klaviyo’s shared domain. This is what makes your emails appear professional and trusted in recipients’ inboxes.
How to verify everything is working: Send a test email to a Gmail address after applying your domain. Open the email, click the three-dot menu → “Show original.” Look for: dkim=pass, spf=pass, and dmarc=pass in the authentication results. All three green = you are fully authenticated.
Step 4: Build Your Signup Form and Start Growing Your List
Your email list is the foundation everything else runs on. Before building flows, you need a mechanism to capture subscribers. Klaviyo’s form builder is the fastest way to get this live on your Shopify store.
The three form types and when to use each
How to build a popup form in Klaviyo
Navigate to Forms
In Klaviyo: go to Sign-up Forms in the left sidebar → click Create Sign-up Form. Choose “Popup” as the form type and select a template or start from scratch.
Design your form
Replace the template text with your specific offer. The headline should state the value immediately — “Get 10% off your first order” converts better than “Sign up for our newsletter.” Add your brand colours, logo, and a CTA button. Keep the form to name (optional) + email only — every additional field reduces conversion rate.
Set your trigger
In the form’s Behaviour settings, choose your trigger type (exit intent, time delay, or scroll depth). Set a suppression window of 30–60 days — this prevents showing the popup to visitors who already subscribed or who dismissed it recently. Nothing annoys a customer more than seeing the same popup every time they visit.
Set the subscription list
Under Form Settings, set the list to subscribe people to. Use your main email list (Klaviyo creates a default list called “Newsletter” during account setup). This is the list your Welcome Series flow will be triggered from.
Publish to your Shopify store
Click Publish. If your Klaviyo–Shopify integration is active, the form will appear on your store immediately with no additional code required. Test it by visiting your store in an incognito window.
Step 5: Create Your Core Segments
Segments are dynamic, automatically-updating audiences in Klaviyo defined by customer behaviour and properties. Unlike a static list, a segment recalculates its membership in real time — the moment a customer’s behaviour changes, their segment membership updates automatically.
Segments serve two purposes: they are the audiences you send campaigns to (replacing “send to everyone”), and they are the trigger conditions for advanced flow logic. Building these segments now means your flows will be smarter from day one.
Step 6: Build the Five Core Automation Flows
These five flows represent 80% of all automated email revenue according to Klaviyo’s benchmark data. Build them in this order — the first three are the highest-return, so if you run out of time, at least complete the Welcome Series and Abandoned Cart before anything else.
| Flow | Trigger | Number of emails | Monthly revenue benchmark* |
|---|---|---|---|
| Welcome Series | Subscribed to list | 3–4 emails over 6 days | $800–$2,400 |
| Abandoned Cart | Checkout started, no order | 3 emails over 70 hours | $1,200–$4,500 |
| Post-Purchase | Order placed | 3 emails over 14 days | $600–$1,800 |
| Browse Abandonment | Viewed product, no cart add | 1–2 emails | $400–$1,200 |
| Win-Back | 60–90 days since last purchase | 2–3 emails | $300–$900 |
*Benchmarks for a store doing $30K–$80K/month. Source: Klaviyo 2026 benchmark data.
How to create a flow in Klaviyo
Before the detailed breakdown of each flow, here is the general process for creating any flow from scratch:
Flows → Create Flow
→
Choose “Create from scratch”
→
Set the trigger
→
Add Time Delay → Email blocks
→
Write each email
→
Set all emails to Manual → Test → Turn Live
Flow 1: Welcome Series
The welcome series is your single most important flow. New subscribers have just joined your list — they are at peak curiosity about your brand. Welcome emails achieve 45–50% open rates compared to 22% for standard campaigns. Every email in this window has more than double the engagement of any campaign you will send.
Flow 2: Abandoned Cart
Cart abandonment is the most commercially important flow in your entire Klaviyo account. On average, 70% of e-commerce shoppers add items to a cart and leave without buying. This flow recovers a meaningful percentage of that revenue — automatically, with no ad spend required.
The trigger specifics: Klaviyo’s abandoned cart trigger fires when someone starts the checkout process (Shopify’s “Checkout Started” event) but does not complete a purchase within a set window. Set the trigger filter to: “Checkout Started” and add a flow filter “Has not placed order 0 times since starting this flow” — this ensures the flow stops immediately if they purchase at any point.
Flow 3: Post-Purchase Sequence
Most stores send an order confirmation and nothing else. The customer who just bought is at peak trust and peak brand awareness — this is the highest-engagement window in the post-acquisition customer journey. Use it.
Flow 4: Browse Abandonment
Triggered when a subscriber views a product page but does not add anything to their cart. Lower intent than abandoned cart, but still a warm signal — this person looked at something specific for a reason.
Browse abandonment — setup specifics
Flow 5: Win-Back Flow
Triggered when a customer who has previously purchased has not returned within 60–90 days. The economics of re-engaging a lapsed buyer are dramatically better than acquiring a new one — they already know and trust your brand, they have zero acquisition cost, and they are the most likely people to respond to a genuine offer.
Win-back flow — setup specifics
Step 7: Send Your First Campaign and Read Your Reports
With flows live, you have the passive revenue engine running. Now add the active layer — a scheduled campaign send to your Engaged Subscribers segment.
How to send a campaign
Create the campaign
Campaigns → Create Campaign → Email. Name it internally so you can find it later (e.g. “Apr W3 — New arrivals — Engaged”). Choose a template or the drag-and-drop editor.
Set your recipient list
Under “To,” select your Engaged Subscribers (90-day) segment. Also add your Unengaged segment to the “Don’t send to” field. This single step protects your deliverability and improves your Revenue Per Recipient by 2–4×.
Write the subject line and preview text
The subject line’s only job is to get the email opened. Keep it under 45 characters, make one specific promise, and avoid spam trigger words (FREE, URGENT, !!!, ALL CAPS). The preview text (the grey snippet visible after the subject line in most inboxes) should extend the subject line’s promise — not repeat it.
Enable Smart Send Time
Under Sending Options, toggle on Smart Send Time. This tells Klaviyo to deliver each email to each recipient at the time they are personally most likely to engage — based on their individual historical open patterns. It is one of the easiest performance improvements available and costs nothing extra.
Send a test email and review
Click Send Test and send to yourself plus one other email address (test on both Gmail and a non-Gmail provider). Check: Does the layout render correctly on mobile? Are all links working? Is the unsubscribe link visible? Does the FDA warning appear if required for your product category? Only after passing this review should you schedule or send.
Reading your results — the four numbers that matter
| Metric | What it tells you | Healthy benchmark | If below benchmark, check… |
|---|---|---|---|
| Revenue Per Recipient (RPR) | Total attributed revenue ÷ recipients sent. The most important campaign metric. | $0.10–$0.30+ | Segmentation quality, offer relevance, CTA clarity |
| Open rate | % who opened. Affected by Apple MPP — treat as directional, not precise. | 20–35% | Subject line quality, sender name, send time |
| Click rate | % of delivered emails with at least one click. More reliable than open rate. | 2–5% | CTA copy, number of links (fewer = better), email relevance |
| Unsubscribe rate | % who unsubscribed from this send. | Below 0.25% | Send frequency, audience relevance, off-topic content |
The Six Most Common Klaviyo Setup Mistakes (and How to Avoid Them)
TL;DR — The complete setup checklist
Free Klaviyo Audit
Already Have Klaviyo Set Up? Let Us Check What’s Actually Working
We audit Klaviyo accounts for Shopify stores doing $10K+/month and record a personalised Loom video showing every gap — missing flows, misconfigured triggers, broken authentication, poor segmentation, and the specific monthly revenue we estimate you are not capturing.
Most accounts we review have at least one of the six mistakes listed above. Many have all six. The audit takes us a few hours and costs you nothing. It will tell you exactly what to fix first.
No retainer. No setup fee. We only charge 10% of the email revenue we generate after you decide to work with us.